
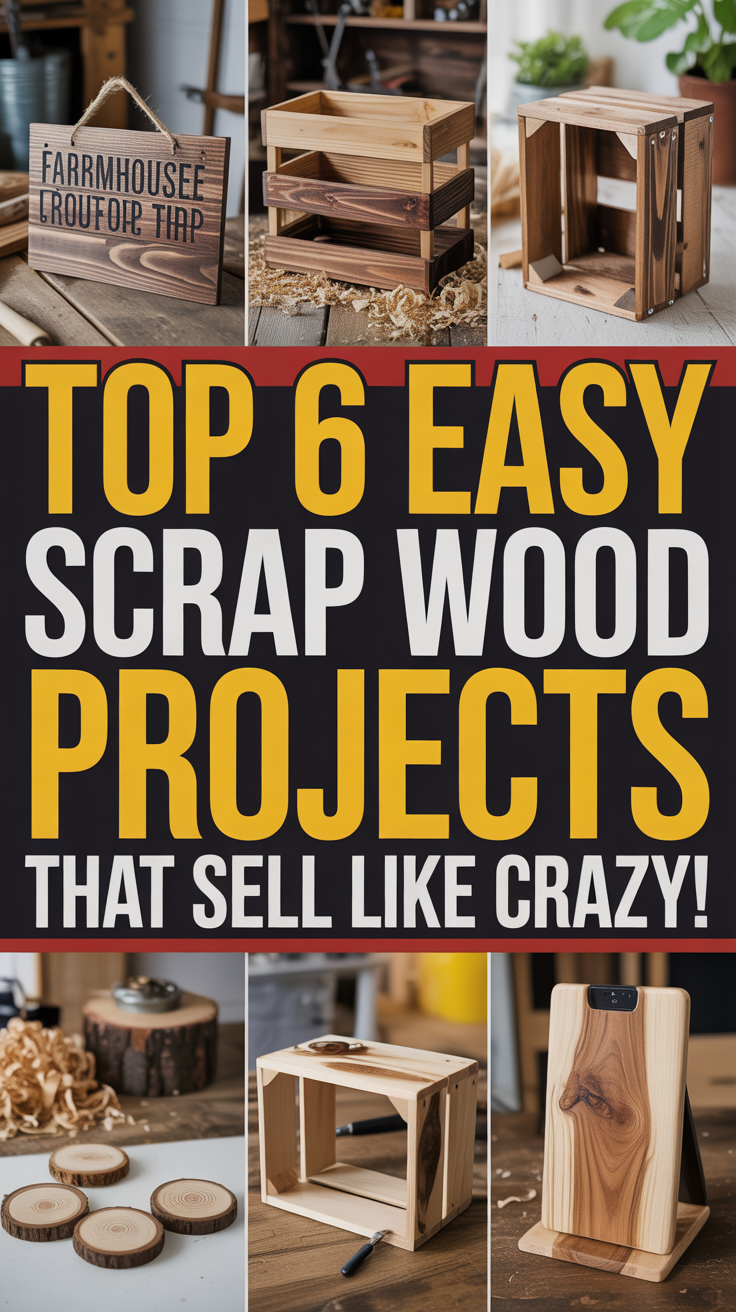
Whether you’re clearing your offcut bin or looking for a low-cost way to earn extra income, these top 6 EASY scrap wood projects that sell like crazy can turn leftover boards into fast-moving, giftable products. Each idea below is beginner-friendly, quick to batch, and easy to personalize—everything you need to build a reliable side hustle with wood you already have.
If you want a head start with ready-to-build templates and step-by-step plan sets you can print and take to the shop, check out TedsWoodworking. Organized plans help you size scraps efficiently and finish faster.
Table of Contents
Why these easy scrap wood projects sell like crazy
- Low material cost: You’re using cuts you already own, which increases your margin.
- Giftable and impulse-friendly: Small, well-finished items priced for impulse buys sell year-round, especially around holidays, markets, and housewarming season.
- Personalization: Add a burned monogram, painted motif, or epoxy inlay. Customization justifies premium pricing.
- Batch-friendly: Once you dial in jigs and measurements, it’s easy to produce consistent, professional pieces quickly.
- Small footprint: These ship easily and fit well in craft fair displays or online shop photos.
Quick tip: Keep a notebook of common sizes you can get from your most frequent scraps, and standardize hardware and finishes to streamline production. For finishing basics and best practices, see USDA’s Forest Products Laboratory guide on wood finishing (USDA Forest Products Laboratory).
Tea light candle holders and centerpiece blocks
Candle holders are a quintessential “fast, beautiful, and profitable” scrap project. They’re simple to make, extremely giftable, and perfect for bundling into sets. Use offcuts from 2x4s, hardwood strips, or thicker blocks from furniture projects.
What sells
- Warm, cozy decor: Rustic and modern styles both work. Chamfered edges or soft rounds boost perceived quality.
- Bundled sets: Grouping in 3s or 5s creates an easy centerpiece upsell.
- Seasonal variants: Add subtle seasonal motifs or color washes for holidays.
Materials and tools
- Scrap hardwood or softwood blocks, cut square and flat
- Forstner bit (typically 1-1/2 in. for tea lights) or hole saw
- Drill press or hand drill with a drill guide
- Sandpaper: 120–220 grit, with an optional final 320 buff
- Finish: Natural oils, wax, or water-based poly. Keep scents neutral for gift buyers.
Build steps
- Square and cut: Crosscut to consistent length (e.g., 4–6 in.) and make sure the face is flat to avoid wobble.
- Layout: Mark hole centers—either centered or offset for aesthetic interest. Maintain at least 1/4 in. wall thickness.
- Drill: Use a stop block for consistent depth so the metal tea light rim sits flush or slightly proud.
- Ease edges: Round over or chamfer all edges to reduce chipping and improve feel.
- Sand and finish: Sand to 220, remove dust, and apply a durable finish. For a natural matte, use a simple oil/wax blend; for a modern look, use a clear water-based poly.
Batching and branding tips
- Create a simple drill press jig for foolproof depth and spacing.
- Offer optional engraved initials or dates for weddings and housewarmings.
- Package in recyclable kraft boxes with tissue and a small “care card” for a premium touch.
Safety note: Always finish fully and allow adequate cure time—especially for items exposed to heat. Learn about finish off-gassing and indoor air quality from the EPA (EPA: Indoor Air Quality and VOCs).
Minimal phone and tablet stands from offcuts
A small L-shaped or slotted phone stand is a perfect micro-project: it uses tiny hardwood scraps, relies on one or two key cuts, and can be finished in minutes. Offer in a range of woods (walnut, cherry, oak, maple) to highlight natural color contrast.
What sells
- Desk utility: A phone stand solves a daily problem and looks great on work-from-home desks.
- Giftable price point: Buyers love to pick these up as stocking stuffers or coworker gifts.
- Personalization: Initials burned or laser-engraved on the face or base.
Core designs
- Slotted wedge: A 10–15 degree face bevel with a shallow slot to hold the phone at a comfortable viewing angle; add a cable pass-through if desired.
- Two-piece “tab and base”: Base with a mortise or kerf to accept a thin tab at an angle.
Materials and tools
- Small hardwood offcuts, 3/4 to 1 in. thick
- Table saw or miter saw, plus a handsaw for kerfs
- Chisel or router for cable groove (optional)
- Sandpaper and an oil/wax finish
Build steps
- Dimension: Mill to uniform thickness. Rip to 2.5–3.5 in. width; crosscut to 4–6 in. length.
- Angle: Bevel the face or base to create a viewing angle. A simple 10–15 degrees looks sleek and works well.
- Slot: Cut a centered kerf 3/8–1/2 in. deep to capture the device. Test with a spare case.
- Details: Add a shallow groove for a charging cord; ease edges for comfort.
- Finish: Sand to 220 and apply a durable, smooth finish that won’t mar phone backs.
Batching and upsell
- Offer “wood species sets” photographed together to invite bundling.
- Keep a few vertical slots for tablets; mark them clearly at your booth.
- Create a jig to repeat the kerf height and angle quickly.
Internal upgrade path: Ready to set up a compact, efficient workspace for batching? See UltimateSmallShop for practical tips on organizing a productive shop—without overspending.
Wall-mounted bottle opener with cap catcher
A wall-mounted opener turns small board scraps into a high-perceived-value gift. It’s functional, easy to customize, and great for bar areas, patios, or as a housewarming present.
What sells
- Functional decor: Works in kitchens, garages, man caves, and outdoor spaces.
- Custom themes: Sports teams, local landmarks, witty sayings. Add laser engraving or stencils.
- Cap catcher: A small box or jar boosts utility and perceived worth.
Materials and tools
- Scrap board (e.g., 3.5–5.5 in. wide, 10–14 in. tall)
- Metal bottle opener hardware, screws, and wall hangers
- Small scrap pieces for a cap box or a mason jar and strap
- Drill/driver, sanding supplies, finish
Build steps
- Prep board: Square, sand, and optionally shape a top profile (arch, chamfer, or decorative cut).
- Add opener: Pre-drill and attach the opener about 2–3 in. from the top.
- Cap catcher: Build a small box from thin scraps (mitered corners look premium). Or attach a strap to hold a mason jar.
- Finish: Stain or paint, then clear-coat. For outdoor use, a weather-resistant finish is best.
- Mounting: Add a keyhole hanger or D-rings for easy installation.
Variations
- Rustic: Reclaimed fence picket look with distressed paint.
- Modern: Clear-finished hardwood with minimalist lines.
- Branding: Burn a logo or local map outline to target tourist markets.
Efficiency tip: Cut and assemble cap-catcher boxes in batches. Pre-finish parts to speed assembly.
For a deeper dive into safe finishes and durability, refer to USDA’s wood finishing resources (USDA Forest Products Laboratory).
Rustic coasters with woodburned or epoxy accents
Coasters are small, fast, and fantastic for using end cuts. Sets of four or six are classic sellers, and you can offer multiple design lanes: pyrography, painted motifs, or simple clear finishes that showcase beautiful grain.
What sells
- Multipacks: Bundled sets with a holding strap, sleeve, or small stand.
- Personalization: Initials, coordinates, or simple line art burned or engraved.
- Eye-catching grain: Bookmatched pairs or mixed-species sets.
Materials and tools
- Hardwood scraps (3–4 in. square, 3/8–1/2 in. thick)
- Sander, router with small roundover bit, branding tool or woodburning pen
- Painter’s tape, epoxy (optional), finish suitable for moisture
Build steps
- Square and size: Cut squares consistently. Slightly chamfer or round edges for comfort.
- Design: Add a simple line or corner accent with a woodburning pen. If using epoxy, tape off an area and pour a thin fill.
- Sand and seal: Sand to 220, removing burning residue carefully to keep lines crisp.
- Finish: Apply a moisture-resistant topcoat that resists ring marks—water-based poly is a reliable choice.
- Backing: Add cork or silicone dots to prevent slipping and protect tables.
Packaging and presentation
- Wrap sets in kraft paper with a twine tie and branded tag.
- Offer an optional minimalist stand made from a small L-shaped offcut.
Care tips for customers
- Wipe with a damp cloth; avoid soaking.
- Re-coat lightly if the finish shows wear.
Learn more about wood dust safety during sanding from NIOSH (CDC/NIOSH: Wood Dust).
Succulent planters and mini planter boxes
Planter cubes or small caddies are perfect for 2–3 in. succulents. They’re trendy, easy to assemble, and a superb way to use small strips and blocks.
What sells
- Natural warmth: Plants plus wood is a high-appeal combination.
- Sets: Buyers love “trios” for windowsills or desks.
- Texture: Add grooves, chamfers, or a routed detail to elevate the look.
Materials and tools
- Hardwood or softwood scraps (3/4 in. thick is ideal)
- Forstner bit or chisel for an inner cavity, or assemble box sides around a base
- Wood glue, clamps, sandpaper, nontoxic finish or liner
Build options
- Solid cube: Drill a cavity with a Forstner bit, leaving at least 1/4 in. wall thickness. Add a small drainage hole.
- Box build: Miter or butt-join four sides around a base panel; quick and clean with minimal tools.
Build steps
- Cut and prep: Mill consistent thickness; cut squares or sides to size.
- Hollow or assemble: Drill the cavity or glue up the box. Keep parts square with a simple right-angle jig.
- Sand and finish: Sand to 220. Use a plant-safe finish; for long-term moisture, add a waterproof liner or use a removable nursery pot.
- Feet: Add rubber feet to prevent trapped moisture on furniture.
Upsell ideas
- Include a faux succulent for ready-to-gift convenience.
- Offer “species mix” options in your product photos (succulent not included unless you’re selling locally).
- Burn plant care icons or include a care card.
Note: Moisture and soil can affect wood and finishes over time. Use liners or interior sealers thoughtfully; let finishes fully cure to minimize VOCs (EPA: Indoor Air Quality and VOCs).
For pattern ideas and printable templates, take a look at TedsWoodworking for plan inspiration you can size to scraps.
Entryway key racks and mail organizers
Entryway organization sells because it solves clutter. These simple racks and mini-mail slots let you turn narrow strips and small boards into functional decor that appeals to renters and homeowners alike.
What sells
- Compact design: Fits small apartments and tight entryways.
- Multi-function: Hooks for keys plus a mail ledge or shelf for glasses/wallet.
- Style options: Farmhouse (whitewashed), mid-century (walnut with brass hooks), or minimalist painted pop.
Materials and tools
- Backer board from a wide offcut; narrow strips for the mail ledge
- Hooks (buy in bulk to save), screws, keyhole hangers
- Glue, brad nails (optional), sandpaper, finish/paint
Build steps
- Design the backer: Cut to 14–20 in. long and 4–7 in. tall, depending on your scrap.
- Add ledge: Rip a narrow strip; glue and brad-nail it 3/4–1 in. up from the bottom edge for a mail/letter ledge.
- Hooks: Pre-drill and install 3–6 hooks evenly spaced.
- Mounting: Add two keyhole hangers for a clean, flush installation.
- Finish: Stain and clear-coat, or paint then seal. Label hook rows (e.g., keys, leash) for charm.
Variations
- Floating shelf version: Deepen the ledge to 3–3.5 in. and add hidden brackets.
- Magnetic strip insert: Hide a magnet bar behind a thin face panel for key holding without hooks.
- Nameplate: Burn or stencil a family name across the top.
Display ideas
- Photograph on a real wall with props (keys, sunglasses) to show scale.
- Offer a couple of widths and hook counts to fit different households.
Looking to streamline your workspace for batching organizers and racks? Explore UltimateSmallShop for smart shop layout ideas and budget tool picks.
The top 6 easy scrap wood projects that sell like crazy, at a glance
- Tea light candle holders and centerpiece blocks
- Minimal phone and tablet stands
- Wall-mounted bottle opener with cap catcher
- Rustic coasters with woodburned or epoxy accents
- Succulent planters and mini planter boxes
- Entryway key racks and mail organizers
Bookmark this list and batch the two you can produce fastest; then add one or two more for a varied booth or online catalog.
Pricing, branding, and selling tips for craft fairs and Etsy
Dialing in your pricing, packaging, and presentation is what turns fun builds into a dependable income stream. Use the strategies below to boost conversion and repeat sales.
Pricing methods that work
- Materials x markup + hourly: Add up consumables (wood, finish, hardware), multiply by a markup that covers overhead, then add your hourly labor target.
- Batch efficiency: Time your fastest batch of 5–10 units and base your labor rate on the improved speed.
- Tiered bundles: Offer small discounts for sets (e.g., coaster sets of 4 or 6), which increases average order value without sacrificing margin.
Costing framework: Track your inputs—glue, finish, sandpaper sheets, hardware, packaging. A simple spreadsheet helps you spot your best-margin products quickly. For general small business pricing guidance, see SCORE’s pricing resources (SCORE: Price Your Products).
Branding and packaging
- Consistent finishes: Standardize on 1–2 finishes for a cohesive brand look.
- Tags and story cards: A tiny card explaining the wood species and care adds perceived value.
- Eco-forward packaging: Kraft paper, twine, and stamped logos are inexpensive and attractive.
Photos and merchandising
- Light and backdrop: Use natural light and neutral backgrounds; show multiple angles.
- Lifestyle staging: Photograph “in context” (coasters under a coffee mug, key rack with keys).
- Booth layout: Group by style or wood species. Use vertical space and clear signs.
Sales boosters
- Personalization station: Offer on-the-spot burning of initials/dates at markets.
- “Buy 2, save a little” signs: Encourage basket building with simple bundles.
- Seasonal prep: Produce early for Q4; fall and holiday markets can be your biggest months.
Legal and safety considerations
- Finishes and labeling: Share care instructions; ensure finishes are fully cured before sale. Learn more about finish behavior and moisture from FPL finishing resources (USDA Forest Products Laboratory).
- Dust safety in your shop: Use masks and maintain dust collection—wood dust is a known irritant (CDC/NIOSH: Wood Dust).
- Shop ventilation during finishing: See EPA guidance on VOCs and indoor air quality (EPA: Indoor Air Quality and VOCs).
Helpful resources for builders
- Templates and plan sets to accelerate batching: TedsWoodworking
- Compact shop setup on a budget: UltimateSmallShop
- Turn your weekend builds into a steady side income: WoodProfits
Conclusion
These top 6 EASY scrap wood projects that sell like crazy are popular for a reason: they’re quick to make, endlessly customizable, and perfect for batching. Start with one or two designs, refine a clean finish and packaging style, then scale by standardizing sizes and creating simple jigs. As orders grow, tighten your pricing, streamline your workflow, and keep your display fresh with seasonal variants. With the right mix of product-market fit and shop efficiency, your scrap bin can become a steady source of profit.
If you’re serious about turning your craft into consistent income, explore WoodProfits for practical ideas to market and monetize your builds.
FAQ
What wood species are best for easy scrap wood projects that sell like crazy?
Hardwoods like walnut, cherry, maple, and oak look premium and finish beautifully. Pine and cedar can work for rustic or painted pieces. Mix species in sets (e.g., coasters) for visual interest.
How should I finish small decor items like coasters and candle holders?
Use durable, fully cured finishes. Water-based polyurethane gives clear protection; oil/wax blends give a natural feel. Let finishes cure thoroughly before packaging. For more on safe finishing practice and indoor air quality, see EPA guidance (EPA: Indoor Air Quality and VOCs).
Can I use pallet wood for these projects?
Yes, but proceed carefully. Avoid stained, oiled, or unknown-treated pallets, remove all metal fasteners, and mill/sand thoroughly. When in doubt about contamination, skip pallet wood for food-adjacent items like coasters.
How do I price small items without undercharging?
Track material costs (wood, hardware, finish, packaging), add your target hourly rate, and include a markup for overhead. Batch builds to reduce time per unit. SCORE has helpful small business pricing frameworks (SCORE: Price Your Products).
What tools do I need to get started with these projects?
A miter saw or table saw, drill/driver, sander, clamps, and a few bits (Forstner for candle holders and planters) are enough. Upgrade as you go. For setting up an efficient small shop on a budget, see UltimateSmallShop.