
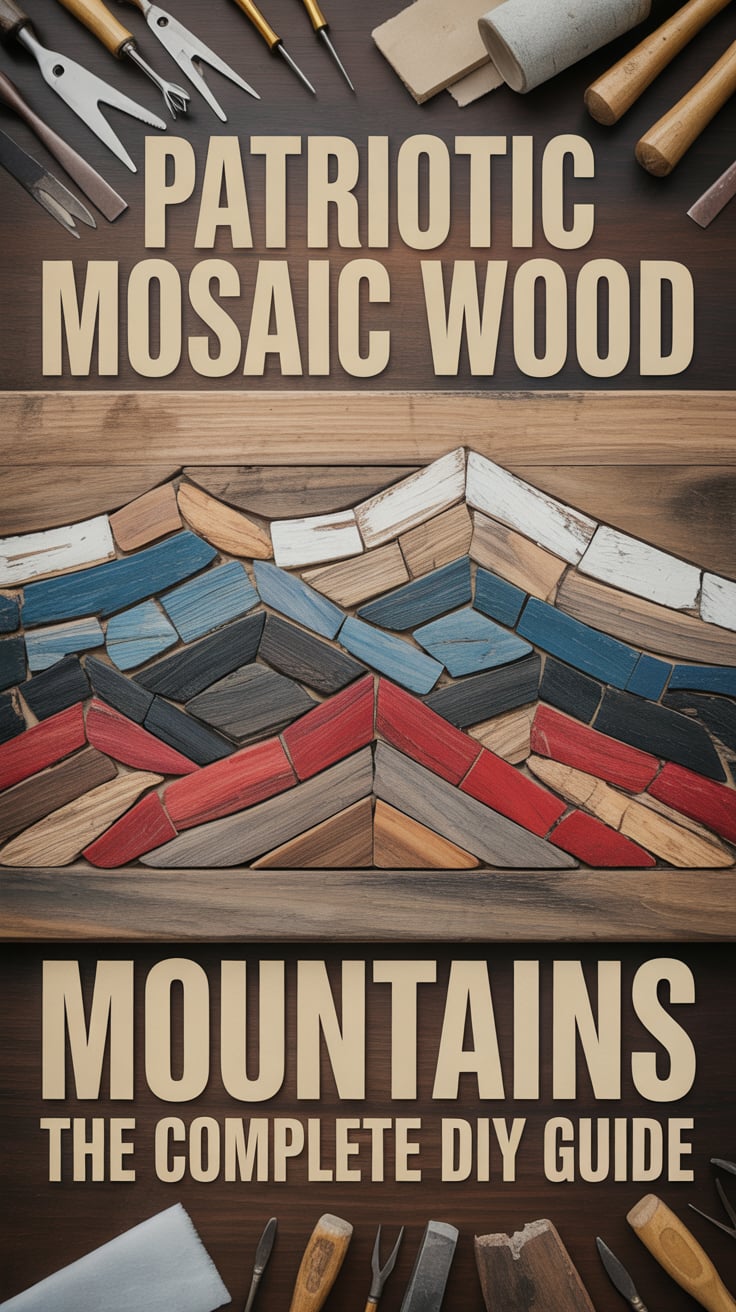
Patriotic Mosaic Wood Mountains have become a striking way to blend rustic Americana with modern wall art. Whether you’re a first-time woodworker or a seasoned maker looking for a new signature piece, this in-depth guide covers design, tools, cutting strategies, coloring techniques, assembly, mounting, and even how to sell and ship your finished mosaics.
This article contains affiliate links; if you purchase through them, we may earn a small commission at no extra cost to you. To jumpstart your layout skills with ready-to-use patterns and tips, check out TedsWoodworking.
Table of Contents
The design language behind patriotic mountain mosaics
At its heart, a mountain mosaic is a story: a layered landscape told through geometry, texture, and color. The patriotic layer—red, white, and blue—adds symbolism and nostalgia. The trick is making it tasteful and timeless, not kitschy.
Composition choices
- Single-peak minimalism: A modern, centered silhouette with a bold sky for the flag colors.
- Multi-range panorama: Overlapping ridgelines in neutral woods with a patriotic banded sky.
- Abstract geometry: Chevron or herringbone “mountain sides,” with star elements inlaid or painted in the sky segment.
Visual hierarchy
- Give the eye an anchor. Often the focal point is a snow-capped central peak (light maple or painted white) or a star cluster in the sky.
- Use value contrast (light/dark) before color. If your values read correctly in grayscale, your colors will sing without clashing.
Respectful color use
- Many makers draw inspiration from the flag—think blue sky, white caps, subtle red accents along the horizon. If you directly reference the U.S. flag (stars and stripes), consider basic guidelines in the U.S. Flag Code to keep your work respectful in proportion and orientation.
Pattern planning workflow
- Rough thumbnail sketch on paper.
- Translate to a digital draft (Canva, SketchUp, or Procreate).
- Create a cut map and color map (mark where red, white, and blue go, plus natural wood tones).
- Print full-scale or grid the board to transfer layout.
Balance color with wood grain
- Let wood do the heavy lifting. A patriotic palette is powerful; use it as accents above a foundation of natural textures—oak for lively grain, walnut for shadows, maple for highlights.
If you’d like to develop your drafting skills and turn napkin sketches into shop-ready plan. For broader inspiration, browse species tones and movement data at The Wood Database.
Tools and materials for Patriotic Mosaic Wood Mountains
A successful mosaic starts with flat, consistent stock and repeatable cuts. Here’s a practical list that stays lean without sacrificing result quality.
Core tools
- Table saw or miter saw for precise angle cuts
- Jigsaw or bandsaw for curved silhouettes and star templates
- Random-orbit sander (ROS), 120–220 grit progression
- Brad nailer (optional) for temporary hold during glue-ups
- Router with trim bit for flush-trimming edges and keyhole slots
- Straightedge, measuring tape, combination square, and marking knife
- Clamps: parallel, F-style, and cauls
Consumables and hardware
- Quality wood glue (PVA) and optional thick CA with activator for spot tacking
- Backer board (plywood or MDF, 1/4–1/2 inch)
- French cleat system or heavy-duty D-rings for hanging
- Painter’s tape, paper, shop rags
- Stains, dyes, or milk paint in red/white/blue; clear topcoat (poly, lacquer, or hardwax oil)
Wood selection
- Natural tones: Walnut (dark), white oak (warm medium), maple or poplar (light), cedar (red-brown).
- Reclaimed options: Pallet boards, barn wood, flooring offcuts. Ensure they’re de-nailed, planed, and dry.
- Thickness: 1/2–3/4 inch strips provide depth and easier handling. Keep thickness consistent to avoid lumpy glue-ups.
Safety first
- Eye and hearing protection, dust mask or respirator.
- Dust collection reduces cleanup and health risks. Learn more at OSHA: Wood Dust and NIOSH: Wood Dust.
Moisture and movement
- Aim for wood around 6–10% moisture; let reclaimed stock acclimate indoors. Wood movement matters less in narrow mosaic pieces, but still allow a tiny expansion gap around the panel within the frame. The USDA’s Wood Handbook has practical insights on finishing and movement: USDA Forest Service Wood Handbook.
Repeatable cutting systems for clean geometry
Crisp geometry separates an amateur mosaic from a professional one. The goal is accuracy with speed. Build a few simple jigs and your workflow will feel effortless.
Straight, flat stock
- Joint one edge (or rip a clean reference edge on the table saw).
- Plane or sand to uniform thickness. Consistency here saves headaches later.
Cutting strategies
- Mountain silhouettes: Many makers layer the mountain range from bottom to top. Cut long strips at 10–25 degree angles to form ridges. For a dramatic peak, use 30/60-degree triangles.
- Chevron and herringbone: Rip boards into equal-width strips, then cut ends at 45 degrees. Use a stop block to ensure identical lengths for mirrored pieces.
- Star elements: Create a template from MDF, then bandsaw or scroll saw your stars. Alternatively, mask and paint the stars onto a blue sky panel.
Jigs to make
- Miter saw stop block: Guarantees consistent piece length.
- Table saw sled with miter runners: Safer, cleaner angle cuts and perfect duplicates.
- Angle blocks: Shop-made 22.5, 30, and 45-degree blocks speed setup and reduce mistakes.
Dry-run your sequence
- Lay out all parts on the backer board, starting from the focal range and moving outward.
- Label the underside (A1, A2, etc.) and arrows for grain direction to keep orientation during glue-up.
Small-shop efficiency
- If you’re building in limited space and want pro-level workflow without overspending, UltimateSmallShop – The Next Woodworking Blockbuster! teaches clever shop layouts, tool selection by budget, and space-saving jigs.
Layout, dry fit, and glue-up without panic
The prettiest mosaic can be ruined by rushed assembly. Spend time on dry fit and adopt a simple glue workflow.
Backer board prep
- Cut your backer 1–2 inches larger than final dimensions, then flush-trim after glue-up.
- Mark centerlines and a faint grid to help align patterns. Indicate where the frame rabbet will sit to avoid placing small pieces too near the edge.
Dry fit steps
- Arrange pieces from the center outward, referencing your plan.
- Check for tight joints; adjust angles or sand edges for seamless fit.
- Stage pieces in sub-assemblies (e.g., each mountain layer), so you can glue in manageable sections.
Adhesive strategy
- PVA glue offers open time and strong bonds. Spread a light, even coat with a roller or glue brush—too much glue leads to squeeze-out under painted segments.
- For tricky small bits, a dot of thick CA glue with activator can “pin” parts while PVA cures beneath or around them.
- Use painter’s tape as a hinge to hold mosaics together, flipping sections like a book to apply glue.
Clamping
- Cauls wrapped in packing tape distribute pressure and prevent sticking.
- A sandbag or stacked weights across a flat board can clamp many small pieces at once.
- If the design allows, a few brad nails into the backer lock parts in position; fill nail holes before finishing if visible.
Squeeze-out control
- Keep a straw and damp rag handy; scoop wet squeeze-out from seams before it skins over.
- Avoid flooding joints where paint or dye will go—glue contaminates surface fibers and resists color.
Tolerance for expansion
- Maintain a 1/16–1/8 inch margin around the panel inside the frame. This protects against seasonal swelling and preserves crisp corners.
Building your first large panel? Consider a practice piece at 12 × 18 inches to test your color plan and workflow. If you want ready-to-print grid templates to accelerate this step, the library in TedsWoodworking can shorten the learning curve.
Coloring and finishing Patriotic Mosaic Wood Mountains
Color is where your mosaic gets its name—and its punch. The goal is to combine patriotic hues with wood’s natural warmth so the piece feels artisanal, not factory-made.
Color pathways
- Transparent route: Use wood dyes or stain to tint wood while keeping grain visible. Try water-based dyes for blue skies on maple, cherry gel stain for warmth, and a whitewash for snowcaps.
- Opaque route: Milk paint or acrylics for bold red/white/blue, especially in sky sections. Sand back edges lightly to reveal wood beneath for a vintage Americana vibe.
- Hybrid: Natural wood mountains with a painted sky. Walnut against a milk-painted navy sky with inlaid stars is a proven classic.
Sample board first
- Swatch your red, white, and blue on offcuts. Mark finish sequences: “Dye → Seal → Glaze → Topcoat.” The same product looks different on maple vs. pine.
Prevent bleeding and blotching
- Seal end grain first if painting adjacent to natural tones. Shellac-based sanding sealer creates a barrier so color doesn’t creep under tape.
- Burnish painter’s tape edges with a card to reduce bleeding; remove tape before finish fully cures for a cleaner line.
Clear coats
- Interior pieces: Waterborne polyurethane or lacquer offers clarity without yellowing blues/whites.
- Heirloom look: Hardwax oil adds a hand-rubbed warmth, but it may slightly amber light colors. Test on scraps.
- Exterior display: Use an exterior-rated spar urethane, but expect some fading outdoors over time.
Respectful symbolism
- If you directly depict stars and stripes, keep proportions tasteful and orientation correct. The U.S. Flag Code provides helpful context to plan a design that’s celebratory and respectful.
For deep-dive reading on how finishes interact with wood structure, check the finishing chapters in the USDA Forest Service Wood Handbook.
Framing, mounting, and hanging hardware that won’t fail
A beautiful mosaic deserves a robust frame and safe hanging method. Aim for a frame that complements the art and a mount that feels bulletproof.
Backer and frame
- Backer thickness: 1/2 inch plywood gives rigidity for medium/large pieces. For smaller mosaics, 1/4 inch plywood is fine.
- Frame wood: Match or contrast. Walnut frames add sophistication to bright skies; rustic white oak frames suit reclaimed looks.
- Frame profile: Simple L-frame or shadow-box style. Cut a rabbet to capture the panel edge; leave a hairline expansion gap.
French cleat method
- Make a cleat from 3/4 inch stock ripped at 45 degrees. One half mounts to the wall into studs; the other half glues/screws to the frame back.
- Advantages: Self-leveling, very strong, easy to remove and rehang for booths or shows.
- Include rubber bumpers at the lower corners to prevent scuffing and keep the frame plumb.
Hardware alternatives
- Keyhole slots routed into the backer: clean look, but harder to position.
- Heavy D-rings with wire: common for mid-size art; ensure rated hardware to match weight.
Example dimensioning (medium panel)
- Panel size: 24 × 36 inches
- Frame stock: 1 × 2 nominal hardwood, milled true; mitered corners reinforced with splines or biscuits
- Backer: 1/2 inch plywood
- Cleat length: 20–30 inches centered across the top rail
Wall types
- Drywall: Hit studs whenever possible. If not, use appropriately rated anchors.
- Masonry: Tapcon concrete screws or sleeve anchors.
For a step-by-step, see [How to install a French cleat securely](INTERNAL LINK PLACEHOLDER). When adding keyholes, mark hanging points precisely and do a test hang before final delivery to clients.
Scaling up, pricing, and shipping like a pro
If your first patriotic mountain turns out great, you might get requests for more. This is where process and pricing matter.
Batch-building
- Standardize sizes (e.g., 12 × 18, 18 × 24, 24 × 36, 30 × 40). Make cut lists and jigs for each SKU.
- Pre-finish some components (e.g., blue sky panels and white caps) so assembly is quick.
- Keep a swatch board noting brand and color mix ratios to maintain consistency across orders.
Pricing framework
- Materials × 2 + hourly rate × build time = baseline price.
- Add a margin for design complexity and seasonality. Patriotic art sells strongly around national holidays; plan inventory.
- Track actual times per step to refine pricing accuracy.
Where to sell
- Etsy, craft fairs, local galleries, and your own site. Good listing photos—straight-on, angled, detail close-ups, and in-room mockups—boost conversion.
- Use relevant tags and SEO-friendly titles that include “patriotic wood wall art,” “mountain mosaic,” and “American flag wall art” variations.
Shipping and packaging
- Wrap panel in paper, corner protectors, then 1/8 inch foam or bubble. Double-wall box with 2 inches of clearance all around. Add a backer board for puncture resistance.
- Include hanging instructions and a care card (avoid prolonged direct sunlight for bright dyes).
Turning your craft into a business
- If you’re exploring a side income or full-time craft shop, WoodProfits shares strategies for pricing, marketing, and productizing your builds.
- If you need a compact, efficient workspace without spending a fortune, UltimateSmallShop – The Next Woodworking Blockbuster! helps you plan a high-output small shop.
- For more patterns and variations beyond mountains (stars, stripes, and geometric inlays), explore TedsWoodworking.
- Need an outbuilding to expand production or store inventory? My Shed Plans offers shed blueprints you can adapt into a backyard work hub.
Remember to track expenses and keep simple books. Clean records make it easier to price fairly and scale smart.
Example build plan for a 18 × 24 inch patriotic mountain
This sample plan balances speed and style. Tweak proportions to fit your taste.
Overall size
- Finished frame: 18 × 24 inches
- Visible art opening: 17 × 23 inches
- Backer board cut: 18 × 24 inches, then trimmed flush after glue-up
Composition
- Bottom third: Foreground mountain range in walnut with steep chevrons.
- Mid third: Midground range in white oak for warmth, edges softened for atmospheric perspective.
- Top third: Sky panel in navy milk paint with three inlaid maple stars and a narrow red horizon stripe.
Cut list (approximate)
- Foreground chevron strips: 1-1/2 inch wide, 10–12 pieces cut at 45 degrees to length
- Midground: 6–8 angled strips at 15–25 degrees
- Sky: One solid maple panel, 7-3/4 inches tall; masked and painted navy, then stars inlaid or painted
- Horizon accent: 1/4 inch red-painted maple strip
Assembly sequence
- Glue sky panel at top; tape off star positions to remain white, or inlay maple stars.
- Build midground sub-assembly first, glue as a single layer.
- Dry fit foreground chevrons; tape hinge pairs and glue to backer.
- Clamp with cauls, check for squeeze-out, and maintain flatness.
- Flush-trim edges with a router once fully cured.
Finishing
- Sand lightly (180–220) to remove fuzz without burning through color.
- Apply waterborne polyurethane for clarity across both painted and natural sections.
- Frame in 1 × 2 walnut with a small shadow reveal for elegance.
If you want more starter plans, including star templates and mountain angles, browse the pattern libraries in TedsWoodworking.
Troubleshooting common issues in mosaic builds
- Gaps between pieces
- Cause: Inconsistent angles or bowed strips. Fix by trueing edges on a shooting board or recutting with a sled and stop block.
- Color blotching on softwoods
- Cause: Uneven absorption. Pre-seal with a washcoat or use gel stain for better control.
- Glue squeeze-out ruins paint lines
- Cause: Over-gluing or late cleanup. Use a micro brush, scrape while wet, and pre-seal adjacent bare wood with shellac.
- Panel cupping
- Cause: Uneven moisture or thin backer. Use 1/2 inch plywood for larger pieces and clamp across cauls until fully cured.
- Finish haze
- Cause: High humidity or incompatible layers. Allow proper dry times, and scuff-sand lightly between coats.
For more advanced joinery and jigs that help eliminate these issues, see [How to master angle jigs for mosaics](INTERNAL LINK PLACEHOLDER).
Conclusion
Patriotic Mosaic Wood Mountains combine the soul of Americana with the clean geometry of modern wall art. Start with a thoughtful composition, cut consistent angles with simple jigs, respect color by balancing it with natural wood, and finish the piece with a frame and mounting method that lasts. Whether you’re building a gift, decorating your home, or launching a small side business, these mosaics can become a signature project that showcases both your craftsmanship and your love for the landscape. Use the techniques and resources above to create Patriotic Mosaic Wood Mountains that are bold, respectful, and built to endure.
FAQ
What size should I make my Patriotic Mosaic Wood Mountains?
Common sizes include 12 × 18, 18 × 24, and 24 × 36 inches. Choose based on wall space and shipping ease. Standardizing sizes helps for batching and pricing.
Which wood species work best for the mountain layers?
Walnut for dark shadows, white oak for mid-tones, and maple for highlights are classics. Poplar takes paint well for red/white/blue accents. Reclaimed pine adds rustic charm when sealed well.
How do I keep paint and stain from bleeding into adjacent pieces?
Burnish painter’s tape edges, pre-seal neighboring bare wood with a thin shellac coat, and avoid excess glue in paint zones. Remove tape before the finish fully cures.
What’s the strongest way to hang a heavy mosaic?
A French cleat is the simplest and strongest for medium to large panels. Hit wall studs when possible and add rubber bumpers to keep the frame plumb.
Are there rules for using flag elements in my design?
If you incorporate stars and stripes directly, keep proportions respectful and orientation correct. The U.S. Flag Code is a helpful reference for general guidance.
Can beginners make Patriotic Mosaic Wood Mountains without a full shop?
Yes. A miter saw or table saw, a sander, and a handful of clamps can take you far. For small-space workflows and tool buying tips, see UltimateSmallShop – The Next Woodworking Blockbuster!.