
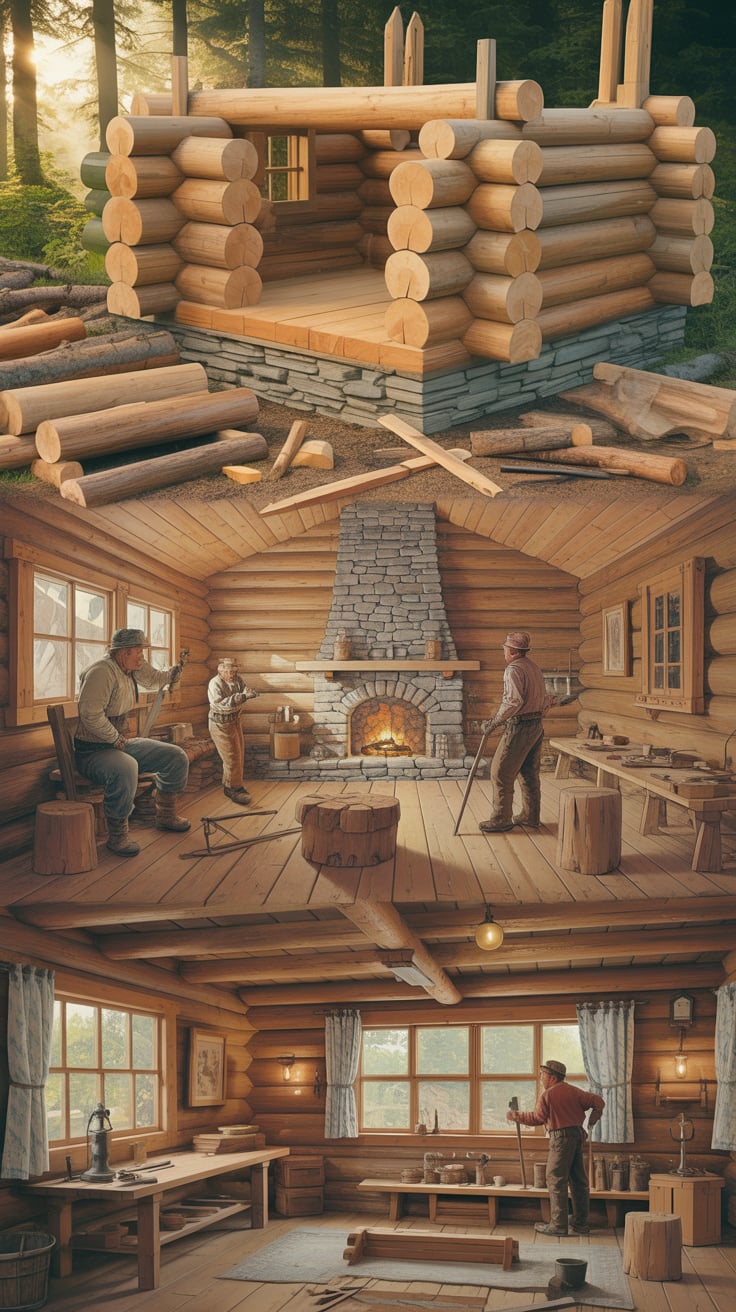
Building a log cabin is one of those timeless projects that blends craftsmanship, design, and self-reliance. If you’ve wondered how to build and furnish a log cabin—from the first stake in the ground to the final chair at the hearth—this guide gives you a practical, end-to-end roadmap. We’ll cover planning, permits, log selection, structural steps, weatherproofing, utilities, and the furnishing choices that make a small space feel like home.
If you need ready-to-build cabin plans and detailed woodworking blueprints for built-ins and rustic furniture, a plan library like TedsWoodworking can shorten your learning curve and help you avoid guesswork.
Table of Contents
Plan to Build and Furnish a Log Cabin the Smart Way
Start by defining your goal, scope, and budget. Are you building a weekend retreat, a full-time home, or a guest cabin? Your intended use dictates the size, insulation strategies, and utilities you’ll need. Draw up a preliminary floor plan with a simple footprint—rectangles are budget-friendly and faster to build than complex shapes. This is also when to list must-haves: loft sleeping, a covered porch, a wood stove, or a utility room.
Permits and codes come next. Contact your local building authority to clarify zoning, setbacks, allowable footprint, and whether the site is in a wildland-urban interface with special fire requirements. Structural loads (snow, wind, seismic) affect your foundation, roof pitch, and anchoring details. It’s worth bookmarking the International Code Council’s resources for reference (International Code Council).
The site itself shapes your cabin’s performance and cost. Look for well-drained soil, solar exposure, access for deliveries, and prevailing winds. Minimize tree removal, but avoid placing the cabin where roots will threaten your foundation or where snow drifts will accumulate. Plan drainage: a gentle slope away from the cabin, French drains as needed, and wide eaves to shed water.
Sketch your timeline realistically. Sourcing or felling logs, milling, drying, and notch practice take time. If you’re new to chain saws or joinery, consider practicing on a small outbuilding first . Define milestones: permits, site prep, foundation, shell dried-in, rough-ins, finishes, then furnishing.
Finally, align your tools and workspace. Even a DIY cabin benefits from a small, efficient work area for cutting, sanding, and assembly. Keep a running list of essential tools and consumables—fasteners, gaskets, sealants, chinking, flashing, and protective finishes—so you don’t lose weekends to supply runs.
Foundation and Footprint That Make Building Easier
A stable, dry foundation is the backbone of any cabin. Your choices include pier-and-beam, crawlspace, slab-on-grade, or even a full basement. The right choice depends on soil conditions, frost depth, budget, and whether you want below-grade storage.
- Pier-and-beam: Often the most cost-effective and flexible for uneven sites. Use concrete piers below frost depth, beams sized for the span, and hardware to tie everything together. Great for DIYers and for routing plumbing and electrical underneath.
- Slab-on-grade: Simple and robust on level sites with well-draining soil. Add rigid foam under and around the slab for thermal performance, a vapor barrier, and thickened edges where required. Confirm the correct class of vapor retarder and insulation R-values.
- Crawlspace or basement: More expensive but offers storage, mechanical space, and stable temperatures. Requires careful waterproofing, drainage, and radon mitigation if applicable.
Plan for sill plates, a sill gasket or sill sealer for air and capillary breaks, and anchor bolts or straps per code. Use pressure-treated sill plates where they contact masonry, and protect cut ends with a preservative. Install termite shields where required.
Size your footprint with a materials-first mindset. Log walls are substantially thicker than framed walls, so interior square footage is smaller than a similar framed cabin with the same exterior dimensions. Plan window and door openings early with allowances for settling and shrinkage (more on that below). A generous roof overhang (18–24 inches) helps protect logs from rain and UV.
If you plan a porch, consider building it on its own footings and “divorcing” it from the main cabin structure. This prevents differential movement from telegraphing into the cabin shell. Plan external storage early—an attached woodshed or a nearby freestanding shed keeps cordwood dry and out of living areas. If you want a simple shed plan for tools and firewood, My Shed Plans offers step-by-step drawings that are easy to adapt to your site.
Selecting and Preparing Logs That Last
Choosing the right species and preparing your logs properly can make or break a cabin’s longevity. Common choices include pine, spruce, fir, and cedar. Pine and spruce are widely available and workable; cedar is naturally rot- and insect-resistant but often pricier. Where possible, source straight, slow-grown logs with minimal taper.
Green vs. seasoned: Many traditional log cabins are built with green logs and allowed to settle, but you need to design for vertical movement. Seasoned logs (air-dried or kiln-dried) move less but take time to prepare and may cost more. Plan a 6–12 month seasoning window for air-dried logs, properly stickered and covered, with good airflow to prevent mold and checking.
Profiles and joinery: You can use full-round logs, hewn square logs, or milled profiles (D-log, Swedish cope). Each has different stacking and sealing methods. Practice your notch of choice on scrap: common options include saddle notch, V-notch, and dovetail. Scribing tools help ensure tight log-to-log contact. Protect logs with borate treatment for insects and decay during storage and after assembly.
Tools: Expect to use chainsaws, hand planes, drawknives, chisels, mallets, log dogs, peaveys, and scribing tools. Keep chains sharp, bar oil handy, and PPE on at all times. For safe chainsaw practices, review OSHA’s guidelines (OSHA Chainsaw Safety: https://www.osha.gov/sites/default/files/publications/3308-10-05-english-06-27-2007.html). If you’re new to heavy cutting, get comfortable on easier projects first, like a bench or a small shed, before you commit to structural cuts.
Moisture management: Logs are hygroscopic. Design with drip edges, generous overhangs, and minimal splash-back. Keep the first log course well above grade with a capillary break and flashing to prevent wicking. Apply a breathable, UV-resistant exterior finish once the shell is dried-in and wood moisture content is appropriate for coating.
For plans and cut lists that include furniture, built-ins, and small jigs for consistent joinery, browse TedsWoodworking for a wide range of cabin-friendly projects.
Raising Walls, Roof, and Getting the Shell Dried In
Laying the first course matters. Start with the straightest, largest logs and ensure the foundation is dead level. Use a sill gasket or foam tape between log and foundation to reduce air infiltration. Fasten per your method: rebar pins, long structural screws, or threaded rod with washers and nuts. Pre-drill to minimize splits and stagger your fasteners to prevent vertical splitting.
Stacking and notching: Scribe each new log to the one below, then cut the scribe line to achieve tight contact. Keep notches consistent in size and depth; small variations can magnify as courses rise. Use slip joints and settling gaps at posts and partitions that intersect log walls. Build door and window bucks that allow vertical movement—often with slotted fasteners or springs—and leave a settling gap above openings, filled with compressible insulation and temporary blocking until the cabin stabilizes.
Roof system: Choose a roof design that fits your climate and skills. A simple gable roof with a ridge beam and purlins is common for log cabins. Use proper birdsmouth cuts on rafters, hurricane ties, and rafter ties as required. In heavy snow regions, steeper pitches and beefier rafters reduce risk. Install sheathing, underlayment, and a durable roofing material. Metal roof panels are popular for cabins: they’re durable, shed snow, and work with rainwater harvesting. Add an ice and water shield at eaves in cold climates and flash penetrations correctly, especially around chimneys.
Ventilation and drying-in: Aim to “dry in” quickly—roof on, windows and doors installed, and a temporary or permanent moisture barrier on exposed surfaces. Add soffit and ridge vents unless your roof assembly is unvented with continuous insulation above the sheathing. Keep window and door flashing shingle-lapped and integrate with a weather-resistive barrier that suits log construction. Pay special attention to the intersection between porches and the main roof to prevent leaks.
Once the shell is weather-tight, you’ve hit a major milestone. The remaining work is detail-heavy—utilities, chinking, interior finishes, and furnishings—but now you can move forward without fighting the weather.
Weatherproofing, Utilities, and Efficient Systems
Log walls are both structure and finish, so air sealing is crucial. Use foam gasket tape between courses during stacking, then apply chinking or caulk designed for log homes. Chinking bridges gaps, accommodates movement, and reduces air infiltration. Focus on corners, around openings, and along checks. Follow manufacturer cure times and backer rod sizes.
Electrical and plumbing: Plan vertical chases and horizontal runs early. Surface-mounted conduit can be attractive if done neatly with dark metal finishes, but many builders prefer to rout channels and drill through logs for hidden runs (done before stacking, or bored in place if you’ve planned access). Use door and window bucks to route wiring for lights and outlets. For plumbing, centralize wet areas to minimize pipe runs, protect supply lines from freezing, and plan for a properly sized septic or alternative system as permitted.
Heating and cooling: A wood stove is a classic choice. Follow clearance requirements, hearth dimensions, ember protection, and proper chimney height for draft. Seal and flash the roof penetration carefully and use double- or triple-wall pipe as specified. In milder climates, mini-split heat pumps offer efficient heat and cooling with minimal interior intrusions. Consider ceiling fans to destratify warm air in winter.
Insulation details: While logs provide mass and some R-value, you’ll improve comfort with insulated roof assemblies and floors. Add rigid foam or mineral wool in the roof; insulate the crawlspace or slab edge; and seal rim joists. Choose vapor-open finishes when possible so logs can dry.
Off-grid considerations: Solar PV with a modest battery bank can power LED lighting and small appliances; add a generator for peak loads. Rainwater harvesting and a gravity-fed system can supplement a well, but confirm local regulations. Composting toilets or advanced treatment units may be options if septic is not feasible. Keep wiring and plumbing diagrams updated for future maintenance.
If your cabin project doubles as an excuse to set up a well-organized workspace for cabinetry, trim, and furnishings, a compact-shop framework like UltimateSmallShop – The Next Woodworking Blockbuster! can help you plan tool layout, dust control, and power needs without overspending.
For maintenance guidance specific to log structures, the USDA Forest Service offers practical advice on preserving wood exteriors and addressing checks and decay.
Interior Layout, Finishes, and Furnishing for Small Spaces
The magic of a log cabin is how it feels inside: warm wood, compact spaces that do more with less, and furniture that looks like it belongs. Start with a scaled floor plan and mark circulation paths (usually 30–36 inches wide) and clearances around appliances and the wood stove. In a small footprint, prioritize vertical space: loft sleeping, tall bookcases, and wall-hung storage.
Surfaces: Durable, low-maintenance choices work best. Consider wood floors with hardwax oil, stone or tile at entry and hearth, and washable paint on ceilings to bounce light. Use low-VOC finishes to keep indoor air healthy. Check final moisture content before applying finishes to avoid trapping moisture against logs.
Built-ins save space and look custom: window seats with lift-up lids for storage, a fold-down dining table, shallow shelves between studs in interior partitions, and a ladder or alternating-tread stair to a loft. Rustic design elements—live-edge shelves, slab countertops, twig pulls—add character without crowding the space. If you have a small shop, you can make much of this yourself with simple jigs ([Essential carpentry tools list](INTERNAL LINK PLACEHOLDER)).
Lighting: Layer ambient (ceiling fixtures), task (under-cabinet, reading lamps), and accent (sconces, hearth lighting). Warm color temperatures (2700–3000K) complement wood tones. Place outlets thoughtfully to avoid cords across walkways.
Textiles and acoustics: Log surfaces reflect sound; soften rooms with wool rugs, curtains, and upholstered seating. Choose durable fabrics that handle mud, pets, and wood-stove embers.
Furnishing strategy: Keep it flexible. Stools that tuck away, benches that double as storage, and nesting tables minimize clutter. If you want to build custom pieces that precisely fit alcoves and eaves, browse pattern libraries like TedsWoodworking for measured drawings you can adapt to your dimensions.
Outbuildings: A small wood or tool shed keeps clutter out of the cabin and supports a tidy interior. For straightforward, modifiable shed blueprints, My Shed Plans is a useful resource to create dry storage close to the cabin without overcomplicating your main structure.
Durability, Maintenance, and Weather Readiness
Log cabins age gracefully when you plan for water, UV, and pests. Your three best defenses are design, finish, and vigilance.
- Design: Wide overhangs, high first log course, and site drainage keep bulk water away. Porches protect entries, and splash-free downspout extensions prevent puddling near the foundation.
- Finish: Choose a breathable, UV-resistant exterior finish intended for logs. Recoat on schedule—sunny sides may need attention sooner. Inspect checks and end grain; seal larger checks that face upward to stop water intrusion while letting the log dry.
- Vigilance: Twice a year, walk the cabin. Look for peeling finish, soft spots, insect frass, gaps in chinking, and areas where vegetation touches wood. Treat for carpenter ants and borers as needed; trim back shrubs and grass.
Snow and ice: In cold climates, maintain a safe path to the cabin, avoid drifting against walls, and watch ice dams. Add heat cables only if you’ve exhausted insulation and air-sealing solutions.
Fire readiness: Clear defensible space around the cabin, store firewood away from the walls, and screen vents. Maintain your chimney; a yearly sweep reduces creosote and fire risk. Follow local wildland-urban interface guidelines if applicable.
Settling and movement: Expect some vertical movement in the first years as logs lose moisture. Keep settling spaces above openings, inspect adjustable screw jacks at posts, and periodically re-tension through-bolts if your design uses them. Check that interior partitions and stairs are still floating where designed to accommodate movement.
Budget-savvy upkeep: Plan a small annual maintenance fund. Doing small tasks routinely avoids expensive repairs later—re-caulk around openings, replace worn weatherstripping, and clean gutters and flashing. Keep a logbook of finish dates, product types, and any repairs so future owners (or future you) know what’s been done.
How to Build and Furnish a Log Cabin on a Realistic Budget
Costs vary widely by size, location, and how much work you do yourself. A practical way to stay on budget is to split the project into phases and commit to a “dried-in first” approach.
- Phase 1: Permits, site prep, foundation. Rent equipment judiciously; DIY clearing and excavation can save, but don’t skimp on compaction and drainage.
- Phase 2: Shell and roof. Simpler footprints and rooflines lower labor and material waste. Metal roofing can be DIY-friendly and cost-effective over time.
- Phase 3: Weatherproofing, utilities, and heat. Prioritize air sealing and insulation—comfort per dollar is highest here.
- Phase 4: Interior and furnishings. Build what you can; buy used or reclaimed for the rest. Salvage interior doors, lighting, and cabinets. Custom built-ins maximize small spaces and cost less than bespoke furniture.
Material strategies: Buy logs locally to reduce trucking fees. Price out fasteners, sealants, and chinking early; these add up. Bundle orders to reduce freight costs and keep a small surplus so work doesn’t stall. For finishes, compare coverage rates, not just gallon prices.
Time strategies: Weekends-only builds extend timelines; plan seasonal tasks accordingly. Winter is great for milling and shop work; spring and summer for foundation and shell; fall for drying in. Keep a task list that groups similar operations to minimize tool changeovers and setup time.
Furnishing on a budget: Start with essentials—bed, table, a pair of chairs, and storage—and add as you live in the space. Build simple pieces like shaker-style shelves, a farmhouse table, or a storage bench from plans. Explore secondhand markets for solid-wood items you can refinish. If you discover you enjoy furniture-making and want to sell pieces to fund continued upgrades, a guide like WoodProfits can help you think through pricing, simple product lines, and small-space production.
Recommended resources for planning and shop setup:
- TedsWoodworking for cabin-friendly furniture, built-ins, and jig plans.
- UltimateSmallShop – The Next Woodworking Blockbuster! for a cost-conscious, safe, and efficient small workshop.
- My Shed Plans for quick outbuildings to support your cabin build.
Conclusion
Learning how to build and furnish a log cabin is a blend of construction know-how, careful planning, and creative problem-solving. Start with a solid foundation and weather-tight shell, plan utilities and air sealing with care, and furnish with space-smart pieces you can build or adapt. With a realistic budget, a phased approach, and the right plans at your side, you can create a durable, comfortable cabin that feels like it’s always been there—and will be for decades to come.
Frequently Asked Questions
How much does it cost to build a small log cabin?
Costs vary by region and size, but a DIY shell for a simple 400–600 sq ft cabin can range widely depending on log sourcing, foundation type, and finish choices. Control costs with a simple footprint, local materials, and doing more of the work yourself. Furnishing can be kept affordable with built-ins and reclaimed items.
How long does it take to build and furnish a log cabin?
A focused DIY team might dry in a small cabin in 8–12 weeks of steady work, then spend several more months on utilities, finishes, and furnishings. Weekend builds often span a year or more. Plan seasonally: foundation and shell in fair weather; interiors and furniture in colder months.
What species of wood is best for log cabins?
Pine and spruce are common and economical; cedar offers natural rot and insect resistance. Choose straight, slow-grown logs with minimal taper. Proper drying and borate treatment matter more than species alone for longevity.
Do I need permits to build a log cabin?
Usually, yes. You’ll need building, electrical, and sometimes septic permits. Confirm zoning, setbacks, and code requirements with your local authority and consult references from the International Code Council. Unpermitted builds can complicate resale and insurance.