
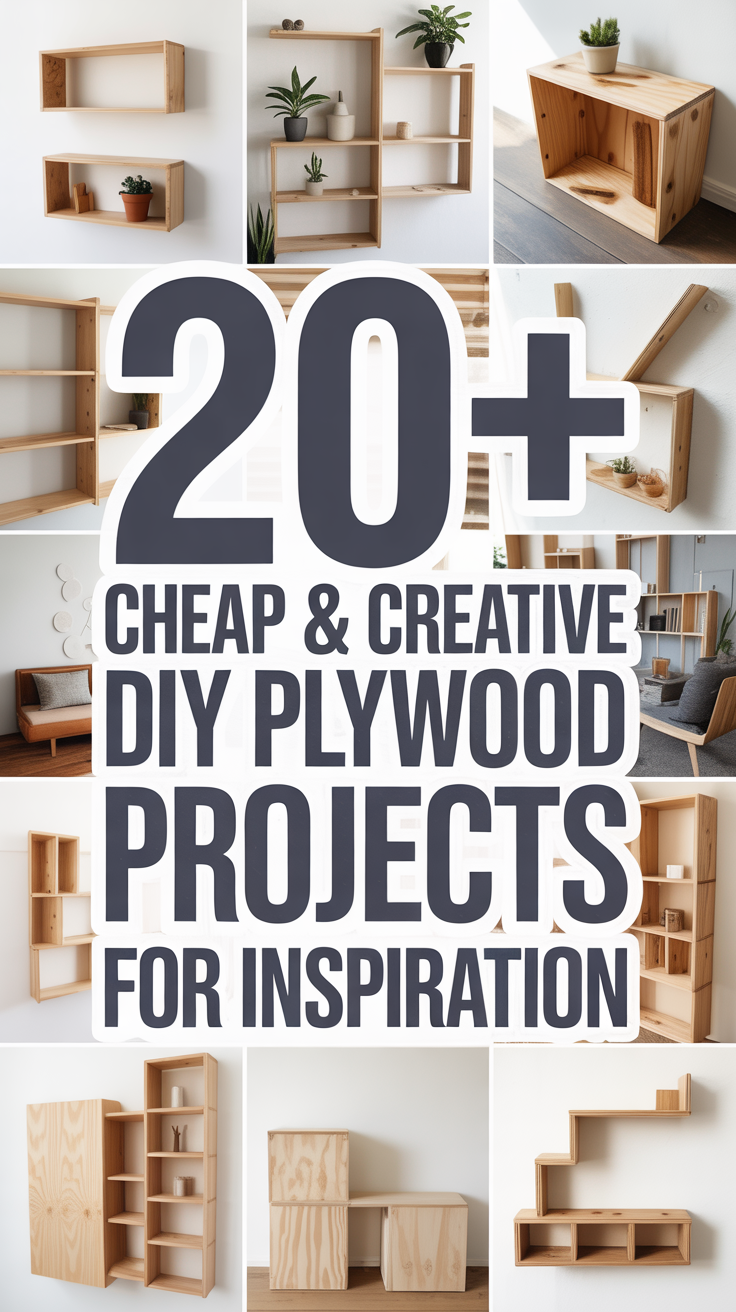
Plywood is the secret weapon of frugal makers: flat, stable, strong, and surprisingly beautiful with the right finishing. This guide rounds up 20+ cheap and creative DIY plywood projects for inspiration you can tackle in a weekend or less—many with basic tools and beginner-friendly joinery. You’ll find quick organizers, smart storage, small-space furniture, outdoor builds, shop helpers, and family projects to stretch your skills and your budget.
If you want ready-made cut lists and measured drawings alongside this list, a plan library like TedsWoodworking can help you move from idea to build quickly without guesswork.
Tip before you start:
- Choose plywood wisely. B/BB Baltic birch or furniture-grade maple ply gives crisp edges; sanded pine ply saves money for painted builds. Learn the basics here: Wood Database.
- Hide edges or make them a feature. Band them for a furniture look or ease the edge and celebrate the layers.
- Pre-finish panels when possible for a cleaner assembly.
Table of Contents
Quick builds that look custom
Small, fast projects are perfect for using up offcuts, learning how plywood behaves, and upgrading your space with low-cost style. Try these to build momentum.
Minimalist coasters with beveled edges
- Cut 4–6 squares from 1/2″ plywood, 3.5″ to 4″ each. Add a 45° chamfer with a block plane or sander.
- Seal with water-based polyurethane or wipe-on oil for a durable finish. Experiment with layered plywood patterns for a modern look.
- Cost: just scraps and finish.
Laptop stand with airflow
- Cut a 9″ × 12″ top and two 5″ triangular side supports from 1/2″ or 3/4″ ply.
- Screw or glue the sides flush to the top; cut a cable pass-through slot. Slight rear lift improves ergonomics and airflow.
- Optional: add a shallow lip at the front to keep the laptop in place.
Floating shelves that don’t sag
- Rip 3/4″ ply into 8″ deep strips; build a hollow shelf box that slides over a cleat.
- Use pocket holes inside the box to keep fasteners hidden. Mount cleat into studs.
- Edge: iron-on veneer or applied solid-wood banding for a built-in vibe.
Geometric wall art panels
- Cut triangles and trapezoids from 1/4″–1/2″ ply. Stain different tones, arrange into a mosaic on a thin backer.
- Glue, clamp, and frame with 1/2″ strips. This is a great way to use up small offcuts and explore color.
Slim planter boxes with waterproof liner
- Make long, narrow planters (e.g., 6″ × 24″) from 1/2″ ply for window sills or shelves.
- Line with a plastic nursery tray or waterproof with pond liner; add felt pads.
- Finish: exterior paint or spar urethane if near moisture.
Under-cabinet spice rack pull-down
- Create a 3″ deep box from 1/2″ ply, hinge it under a cabinet, and add a magnetic catch.
- Labels face you as it drops, then tucks out of sight when closed.
Skill boosters for this section:
- Learn edge-banding techniques and clean butt joints with pocket holes. Fine Woodworking has reliable edge-banding tips.
- Pre-drill to prevent splitting near edges.
Clever storage and home organization
Storage builds are the best bang for your plywood buck—simple rectangles that solve clutter elegantly.
Entryway shoe rack with hidden shelf
- Build a two-tier rack from 3/4″ ply. Top level holds shoes; a shallow underside cubby corrals flip-flops or slippers.
- Add a narrow back lip to keep shoes from scuffing the wall.
Adjustable closet cubbies
- Cut a set of rectangular boxes that stack or stand upright; drill 32 mm shelf-pin holes for adjustability.
- Paint or clear-coat. Modular boxes let you reconfigure as your wardrobe changes.
French cleat tool wall (pegboard alternative)
- Rip a 3/4″ sheet into 6″ strips; cut each strip into 45° cleats.
- Mount cleats to wall studs; hang custom plywood bins, hooks, and holders you can move anytime.
- Stronger than pegboard and evolves with your tools.
Rolling under-bed drawers
- Build low-profile drawers with 1/2″ sides and 1/4″ bottoms; add casters mounted inside an L-shaped sled to reduce height.
- Use finger pulls or inset handles; perfect for linens, toys, or seasonal gear.
LP record crate or file box
- Classic 13″ inside dimension cube from 1/2″ ply with handholds.
- Stain for vintage appeal. Add corner splines for strength and style.
Design, measurement, and wall-anchor basics are key here. If you want precise cut diagrams and tested joinery variations, check out TedsWoodworking for an organized plan library you can filter by skill level.
Small-space furniture that looks custom
Plywood shines in simple, modern furniture—with straight cuts and smart edge treatment, you can rival store-bought pieces.
Box nightstand with waterfall edge
- Use a continuous-grain look: miter the corners at 45° so the top and sides wrap.
- Add a single shelf or drawer; edge-band inside for a pro finish.
- Finish in clear coat to showcase the layers or paint for a minimalist look.
Coffee table with lift-top storage
- Build a shallow torsion-box top (light but stiff) with 1/2″ skins and thin internal ribs.
- Install a lift-top hinge so the surface doubles as a laptop table; hollow base hides remotes and chargers.
Scandinavian bench with splayed legs
- Cut a 14″ × 48″ seat from 3/4″ ply. Laminate two layers for extra stiffness.
- Create splayed legs from trapezoidal ply pieces; inset a stretcher for rigidity.
- Round edges to avoid chipping; clear finish keeps it airy.
Open cube bookshelf wall
- Assemble multiple plywood cubes (e.g., 12″ or 15″) and stack into a living wall.
- Combine vertical and horizontal orientation for rhythm.
- Secure cubes together with hidden screws; anchor to studs for safety.
Slim console table for narrow hallways
- 10″ deep top, 28″–30″ high. Add a magazine shelf below.
- Use slender aprons and tapered plywood legs (laminated and shaped) for elegance without cost.
Fine-tuning the furniture finish:
- Break edges with a sanding block to prevent veneer tear-out.
- Consider waterborne lacquer for fast, low-odor topcoats.
- For grain-matched looks on visible edges, iron-on veneer tape is easy and clean. See step-by-step at Fine Woodworking.
Shop and workspace helpers
If you’re building in a tight garage, organizing and optimizing your workspace can unlock more projects and better results. The right shop helpers save time, money, and frustration.
Fold-flat sawhorses and assembly table
- Sawhorses from 3/4″ ply nest together; add a removable torsion-box top for a dead-flat assembly surface.
- Slot joints or hinges let you fold them for compact storage.
Wall-mounted clamp rack
- Rip narrow cleats and arms from plywood; add shallow shelves for F-style and parallel clamps.
- Keeps heavy clamps secure and visible so you stop buying duplicates.
Mobile tool cart with drawers
- A 24″ × 18″ footprint roll-around cabinet holds hand tools or a benchtop tool.
- Use full-extension slides for small drawers and a deep lower cubby for bulk storage.
Router table top or drill-press station
- Double-layer 3/4″ ply top with replaceable 1/4″ sacrificial insert.
- Add a fence, dust port, and bit storage; vastly upgrades accuracy on small parts.
Crosscut or panel sled for the table saw
- Plywood base, hardwood runners, tall rear fence, and stop block.
- Safe, square cuts on sheet goods without wrestling.
Working smart in small spaces:
If your workspace is a corner of the garage or a balcony, UltimateSmallShop – The Next Woodworking Blockbuster! offers guidance on compact shop layouts, budget tool setups, and dust collection ideas designed for tight quarters—useful if you’re outfitting your first shop.
Safety reminder:
- Wear a respirator when cutting plywood; fine dust and adhesives are not lung-friendly. OSHA: Wood Dust has safety guidelines.
- Support sheet goods during cuts to prevent kickback and tear-out.
Family-friendly builds that invite creativity
Builds for kids and shared spaces can be simple, durable, and adaptable as needs change.
Front-facing Montessori bookshelf
- Shallow shelves with tall lips show covers, encouraging reading.
- Make two narrow units that can be stacked later into a taller shelf as kids grow.
Play kitchen with modular appliances
- Base cabinets from 1/2″–3/4″ ply; add a faucet, knobs, and painted burners.
- Doors use simple Euro hinges; apply edge banding for durability.
- Design as separate modules (sink + oven) so you can rearrange a pretend kitchen or tuck it away.
Convertible art easel and chalkboard
- Sandwich a chalkboard panel or whiteboard between a plywood A-frame.
- Hinged top lets it fold flat. Add a tray for markers and chalk.
Toy chest with soft-close lid
- Box with an inset bottom for strength; add a piano hinge and soft-close torsion hinges to protect little fingers.
- Cut ventilation slots for safety; decorate with stencils or vinyl.
Kids’ desk with cubby storage
- 20″ × 36″ top with under-top cubbies for paper and pencils.
- Rounded edges and a durable, easy-clean finish are key.
Want tested dimensions and cut diagrams for kid-safe projects? Plan libraries like TedsWoodworking save time by removing the guesswork on proportions and joinery appropriate for little hands.
Outdoor and garden projects on a budget
Many plywood builds can live outside—just choose exterior-rated ply (or marine ply for long life), seal well, and design for drainage.
Balcony or railing planter boxes
- Build long planters with sloped bottoms and weep holes; line with plastic or use removable inserts.
- Attach to rails with cleats and carriage bolts or hang from sturdy brackets.
Potting bench with slatted shelf
- 48″ wide bench with a backsplash rail and hooks.
- Use exterior screws and leave small gaps between slats for drainage.
- Finish with exterior paint or spar urethane; keep it under cover for longevity.
Outdoor storage bench
- A hinged-lid bench stores cushions and garden tools.
- Add internal battens to stiffen panels; ensure a drip edge and weatherstrip to keep water out.
- Seat height 18″–19″ is comfortable for most adults.
Grill caddy and prep station
- Slim cart with side handles, towel bar, and spice/utensil cubbies.
- Casters make it easy to roll from kitchen to grill; top with a removable cutting board.
Modern birdhouse or pollinator hotel
- Simple boxes with angled roofs; add varied hole sizes and bamboo tubes for bees.
- Mount on a post or hang under eaves; seal edges to resist delamination.
Weatherproofing tips:
- Seal all edges thoroughly; edges are where moisture attacks first.
- Maintain annually with a fresh coat of exterior finish. This Old House and Family Handyman regularly share outdoor finishing basics you can follow.
- Use stainless or exterior-coated screws and glue rated for exterior use.
If you need detailed joinery variants for outdoor projects, My Shed Plans includes outdoor structures and storage builds that adapt well to plywood with weatherproof techniques.
Wall, media, and entryway upgrades
Plywood makes it easy to pull off modern, built-in looks with straight cuts and solid planning.
Floating media console with wire chase
- Build a long, shallow cabinet with a removable back panel for cable management.
- French cleat mounting keeps the floor clear; edge-band for a sleek, furniture-grade finish.
Slat wall with acoustic panels
- Rip 1/2″ plywood into 1–2″ slats; mount over black felt or acoustic backing for a dramatic wall treatment that also tames echo.
- Great in home offices and media rooms; stain slats to match your decor.
Mudroom hall tree with bench and hooks
- A plywood carcass with cubbies on top and bottom; add a bench with a stiffened edge.
- Beadboard or painted plywood backer looks classic; ensure you anchor into studs to support bags and coats.
Fold-down wall desk for small apartments
- Hinged desktop folds up to a shallow wall cabinet when not in use.
- Inside, add cubbies for a laptop and notebooks. A gas strut or friction hinge makes opening smooth.
Record display ledges and picture ledges
- Shallow, continuous shelves with a front lip keep frames and vinyl secure.
- Combine several ledges for a gallery wall with zero frames on furniture.
Acoustic and wall treatment reference:
- For materials and acoustic absorption basics, check resources from trusted audio communities and product manufacturers; Family Handyman often covers smart wall storage layouts too.
Turning ideas into builds without overspending
The beauty of plywood is in its efficiency: few tools, straight cuts, and simple joinery can produce sturdy, attractive pieces. To keep costs low:
- Design around standard sheet sizes to minimize waste.
- Batch cuts and think in “modules” you can reconfigure later.
- Use paint on budget ply and clear finishes on higher-grade faces to allocate money where it shows.
- Invest time in edge treatment and finish—small details make pieces feel custom.
If you want step-by-step drawings, cut lists, and variations for many of the 20+ cheap & creative DIY plywood projects for inspiration in this guide, explore:
- TedsWoodworking for a wide searchable library of furniture, storage, and decor plans.
- UltimateSmallShop – The Next Woodworking Blockbuster! if you’re building in a small space and need a plan for budget tools, layouts, and dust control.
- My Shed Plans for outdoor-focused ideas that adapt well to plywood with exterior-rated techniques.
- Interested in selling your builds at markets or online? A guide like WoodProfits can offer general direction on turning a woodworking hobby into a side income.
External resources for best practices:
- Wood Database for plywood types and properties.
- OSHA: Wood Dust for shop safety and dust exposure.
- Family Handyman and Fine Woodworking for techniques like edge banding, finishing, and joinery.
Conclusion
With a single sheet or even offcuts, you can produce dozens of useful, stylish builds—proof that design and detail matter more than budget. From floating shelves and French cleat storage to fold-down desks and play kitchens, these 20+ cheap & creative DIY plywood projects for inspiration show how far smart design can stretch a sheet of ply. Start with a quick win, tackle a storage problem next, and keep refining your finish and edge work. When you’re ready for measured drawings and cut lists that accelerate your builds, plan libraries like TedsWoodworking and outdoor guides like My Shed Plans can move you from idea to “done” without the costly mistakes.
FAQ
What thickness of plywood should I use for furniture?
For small furniture and shelves, 3/4″ is a safe default for stiffness. For drawer boxes and light organizers, 1/2″ works well. For back panels and decorative fronts, 1/4″ is sufficient. Always add support rails or cleats for longer spans to prevent sagging.
How do I hide or finish plywood edges?
Options include iron-on veneer tape, solid-wood edge banding, or a small roundover and paint. Veneer tape is quick and clean; solid banding is toughest for high-wear edges like tabletops. See Fine Woodworking’s edge-banding tutorials for step-by-step guidance.
Can beginners tackle these DIY plywood projects?
Absolutely. Many of the 20+ cheap & creative DIY plywood projects for inspiration here require only straight cuts, screws, glue, and basic sanding. Start with coasters, shelves, or simple storage boxes, then work up to furniture as your accuracy improves.
What tools do I need if I don’t own a table saw?
A circular saw with a straightedge guide or track, a drill/driver, clamps, and a sander will handle most projects. Add a pocket-hole jig for hidden joinery. For small-space tool setups and budget picks, see UltimateSmallShop – The Next Woodworking Blockbuster!.
Is plywood suitable for outdoor use?
Yes, with the right material and finish. Choose exterior or marine-grade plywood, seal all edges, allow for drainage, and use exterior-rated glue and hardware. Maintain the finish yearly. Resources like Family Handyman and This Old House cover outdoor finishing basics.